Total Time Needed: 1 Hour
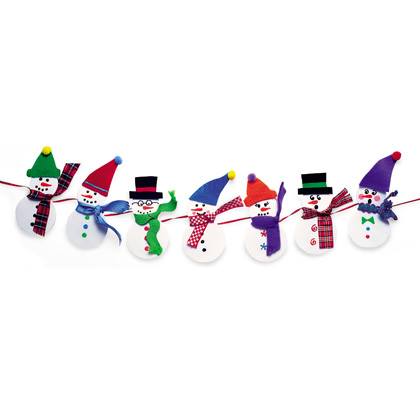
Whether you live in a cold or warm climate, your kids can have fun rounding up these decorative little snowmen. String them together, and they look great as a doorway or banister adornment. Or you can hang them singly as tree ornaments.
For a simple, printable pattern of this craft, try our snowman.pdf.
Materials
- 2 different-size jar lids (we used one with a 2-inch diameter and another with a 3-inch diameter)
- Cardboard
- Pencil
- 4 or more 9- by 12-inch sheets of white craft foam
- Puffy paints
- Ribbon, fleece, and felt
- Small pom-poms
- Tacky glue
- 3 yards or more of thin ribbon
Instructions
1. Create a template by tracing the jar lids (the smaller one above the larger one, their rims touching) onto the cardboard and cutting out the snowman shape. Use the template to draw snowmen on the craft foam (we fit six per sheet) and cut them out.
2. Now your child can use puffy paints to add facial features and buttons. While the paint dries, she can cut out ribbon or fleece scarves (about 12 inches long) to tie around the snowmen's necks, as well as brimmed felt hats or stocking caps -- complete with a small pom-pom glued to the end -- to glue on their heads.
3. To string the snowmen into a garland, loop the ribbon once around the back of each of their scarves. Keep the loops loose enough that you can slide the snowmen into place along the strand.
Crafts


