Total Time Needed: 1 Hour
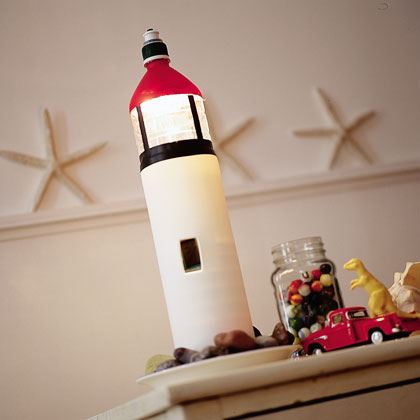
Turn a plastic water bottle into a decorative lighthouse - just the thing to brighten up a rainy summer day.
Materials
- 1.5-liter sport water bottle
- Craft knife
- Aluminum foil
- Red acrylic paint
- Black tape
- Play-Doh or clay
- Flashlight
- White craft foam
- Clear packing tape
Instructions
1. Use a craft knife (adults only) to cut the bottle in half. Glue aluminum foil inside the cone-shaped portion of the top half (this creates a reflective dome), then use red acrylic paint to coat the outside of the foil-lined section.
2. When the paint is dry, apply 3-inch vertical strips of black tape, spaced evenly, around the unpainted portion of the bottle top.
3. In the bottom half of the bottle, pack a baseball-sized ball of Play-Doh or clay. Stand a flashlight upright in the clay and press down to secure it in place. Cut a notch down from the bottle's edge to allow access to the flashlight's switch, as shown.
4. Next, wrap an 11 1/2- by 10-inch sheet of white craft foam around the bottom half of the bottle (the foam will extend about 4 inches above the bottle) and note approximately where the flashlight switch opening is. Remove the foam and cut out a switch opening. Re-wrap the foam around the bottle and secure the overlapping ends with clear packing tape.
5. Finally, fit the cut edge of the bottle top just inside the foam sleeve and securely tape the foam to the bottle with colored tape.
Crafts


