Total Time Needed: 1 Hour
Ages: 2 years and up
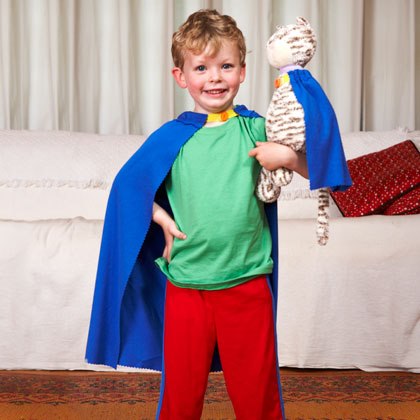
Wizard or Superman, crown prince or Count Dracula: nothing beats a cape for presto-chango possibilities. And ours is virtually no-sew, so you don't have to be a magician to make it.
Materials
- 1 yard knit fabric, washed and dried
- Pinking shears
- 1 1/2 yards (5/8-inch-wide) grosgrain ribbon
- Fabric glue
- 1 pair self-adhesive Velcro dots
- Needle and thread
Instructions
1. Cut a 27- by 30-inch rectangle from the fabric using pinking shears, which will keep the fabric from unraveling. Set aside the remaining material for a mini cape.
2. Lay a 1-yard length of ribbon across a short end of the fabric, about 1½ inches from the edge. Run a line of glue about G inch below the ribbon, as shown. Fold the fabric over the ribbon, pressing gently so that the glue doesn't get on the ribbon. Let the glue dry completely, about 10 minutes.
3. Gather the fabric toward the center of the ribbon so that it bunches slightly. Then glue the ribbon to the fabric just inside the opening on either side of the collar (this will keep the ribbon from sliding out).
4. Trim the ends of the ribbon to about 2 1/2 inches on either side. Attach a Velcro dot (we sewed ours on for safety) at the end of each ribbon for the closure. For a more finished look, sew on a button where shown.
5. Mini-Me Cape: Follow the directions above, using a 12- by 16-inch piece of fabric and an 18-inch-long ribbon.
Crafts


