Total Time Needed: 1 Hour
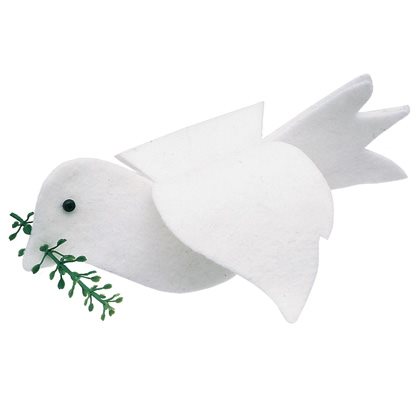
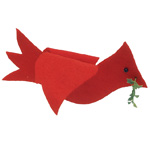
Have your kids make this sweet handmade ornament to hang on the Christmas tree.
Materials
- Scissors
- Cardinal or dove template
- 2 (7-inch) squares of red or white felt
- Fabric glue
- 12 inches of clear fishing line
- Fake holly sprig (available at craft stores), cut into a 2-inch length
- 2 small black beads or a permanent marker
Instructions
1. Print out a cardinal or dove template. Cut 2 matching bird shapes from the felt squares. Apply a thin outline of fabric glue to the body of one of the cutouts, excluding the wing, as shown. Knot the ends of the fishing line to create a loop. (We used black thread in the photo above for demonstration purposes only.) Lay the knot on the body as shown and firmly press the second cutout onto the first, sandwiching the fishing line.
2. Once the glue is dry (about 15 minutes), use scissors to poke a tiny hole in the beak at least 1/2 inch from the tip. Push a holly sprig through the hole. Attach bead eyes with fabric glue or draw them on with a permanent marker.
Crafts


