Total Time 1 hour Ages school-age
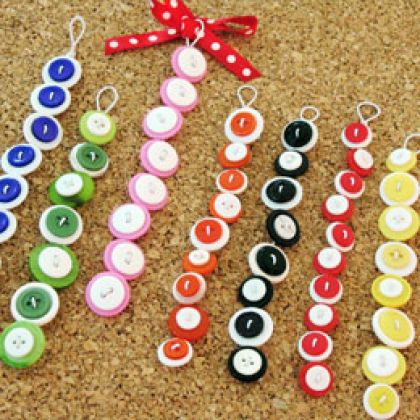
As Minnie would tell you, there's no end to what you can do fashion-wise with polka dots. Here's a simple technique for turning a handful of buttons into a spiffy spotted bracelet.
Read More crafts:
by Cindy Littlefield
What you'll need
- White beading elastic
- Measuring tape or ruler
- Scissors
- Buttons, two different colors and sizes
- Craft glue
How to make it
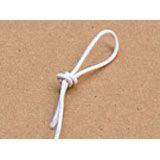
1. Cut a 12-inch length of beading elastic. Fold over one end of the elastic and tie an overhand knot to form a 3/4-inch loop, as shown.
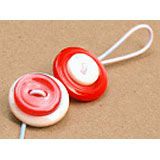
2. Set a smaller button atop a larger one so that the holes match up. Then thread the free end of the elastic up through one set of holes and down through the opposite set of holes, as shown.
3. Slide the paired buttons along the elastic so that they are close to the knot.
4. Continue adding buttons in this way until the bracelet is the right length to fit your child's wrist.
5. Tie a tight knot in the elastic near the last button and use a drop of craft glue to secure the knot, if needed. When the glue is dry, trim the elastic ends short.
6. Now your child can wear her bracelet. Simply wrap the strand around her wrist and stretch the loop over the last pair of buttons.
Crafts


