
Total Time 1 hour Ages school-age
Make this rustic looking box in a snap! This little box is a great place to store your keepsakes from camp.
by Amanda Formaro
What you'll need
- Wooden box with lid
- Wooden alphabet tiles
- Acrylic paint: sunflower (dark yellow), brown and white
- Wide paintbrush
- Acrylic sealer spray
- White craft glue
Helpful Tip:
1. You can also spell out your name or the name of your camp. 2. If you like, line the inside of your box using felt and white craft glue. 3. Alphabet tiles can be found by the wood in your local craft supply store, or you can use old game pieces.
How to make it

1. Squeeze out three pools of paint, one of each color, about the size of half dollars.
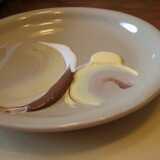
2. Drag the side of your paintbrush through one color, then keeping it on the plate, drag it through the other color. The idea here is to blend and streak the colors, but not completely mix them. By dragging them together you will leave a streaky look on your box that looks aged.
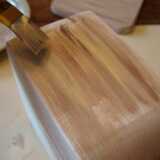
3. Paint the box and the lid, all the while dragging your paintbrush through the paint colors, combining but not mixing.
4. Once box is dry, have an adult spray it with two coats of acrylic sealer in a well ventilated area. Let dry.
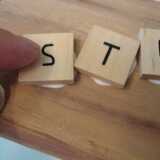
5. Use white craft glue to attach alphabet tiles spelling out "MY CAMP STUFF". Let dry.
Crafts


