Total Time Needed: 1-2 Hours
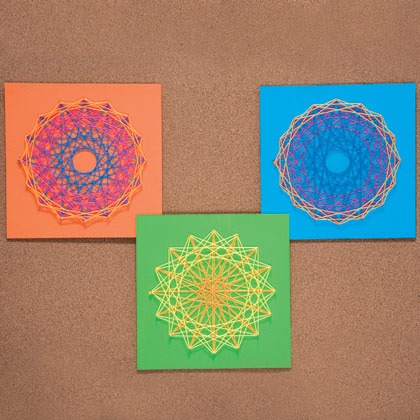
A cross between Spirograph and macramé, this retro craft is the equivalent of two great tastes that taste great together. Professors actually use this project to teach a mathematical principle -- forming a rounded shape called a Bézier curve from straight lines -- but it's so funka-delically awesome that you don't have to be a geometry whiz to dig it.
Materials
- Paper and pencil
- Round dinner plate
- Scissors
- Tape
- 12-inch square of wood or plywood, at least 1/4 inch thick, painted
- Hammer
- 16 small nails (we used ¾-inch)
- Yarn or crochet thread (one 25-foot piece of each color)
- Craft glue
- Picture-hanging hardware
Instructions
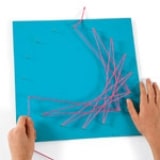
1. SET UP THE BOARD: Make a circle template by tracing a dinner plate onto a piece of paper. Cut it out and fold the circle in half 4 times, so that when you unfold it there are 16 sections. Tape the circle to the center of the board. Hammer each nail halfway into the board in line with a paper crease (A). Remove the paper.
2. WEAVE THE DESIGN: Knot the end of a piece of yarn to the topmost pin (pin 1). Then wind the yarn around the pins in a simple advancing pattern. For the example shown on the blue board (B), wind the yarn from pin 1 around pin 6, then back around 2 and across to 7, back to 3 then to 8, and so on. Continue in this manner until you arrive back at pin 1. Knot the yarn and trim off any excess. Repeat this process with two other yarn colors, using a new pin sequence for each.
3. FINISH THE PROJECT: Add a dab of craft glue to the yarn knots to secure them and use picture-hanging hardware to display the board on your wall.
Crafts


