Total Time Needed: 1-2 Hours
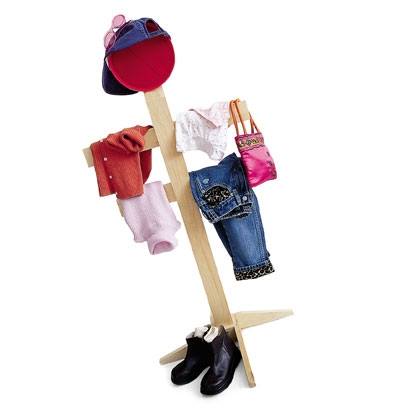
Choosing an outfit is one of those seemingly simple tasks that inevitably takes up a lot of precious time on a school day morning. With one of these handy stands, your child can set out her apparel the night before. Here's how to build one.
Materials
- Two 10-foot-long 1- by 3-inch clear pine boards
- Three dozen 1 1/4-inch wood screws
- Pitch and Toss disk or Frisbee
- Handsaw, Drill (for making the holes for the screws), Screwdriver
Instructions
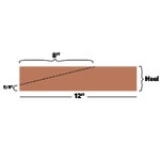
1. Cut the following pieces From one of the 10-foot boards, cut two 35-inch lengths (A and B), two 22-inch lengths (C and F), and a 5-inch length (D). From the second board, cut a 10-inch length (E), an 18-inch length (G), and four 12-inch lengths (H, I, J, and K). Mark and cut H, I, J, and K to shape the pieces of the base.
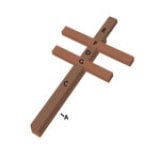
2. Assemble the post The post is formed by sandwiching the cross-pieces (F and G), spacers (C and D), and neck (E) between the face (A) and back (B). Start with piece A facedown on a flat surface (see figure 2). Set C on top of A so that the bottoms and sides are flush, drill screw holes, and screw it in place. Now center and attach G horizontally to A so that its lower edge is centered against the top of C. Attach D vertically and F horizontally, as shown. Then screw the lower portion of E to A so that E's bottom edge rests against the top of F and its upper portion extends beyond the top of A. Finally, set B on top of all the attached pieces so that all of its edges are flush with A's and screw it in place.
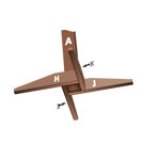
3. Attach the base Attach H to the bottom of the post so that H's heel and bottom are flush with the right side and bottom of A. Attach I, J, and K in like fashion, rotating the post one turn counterclockwise each time (see figure 3).
4. Top it off Lastly, strap the Pitch and Toss disk (or screw the Frisbee) to the upper part of E, and the rack is ready to "dress."
Crafts


