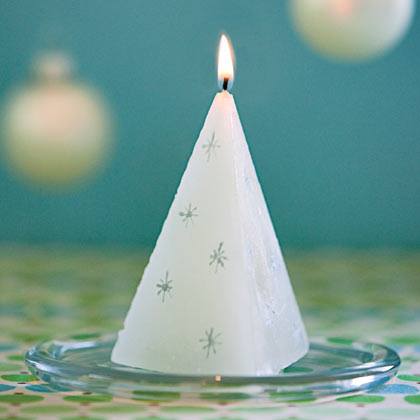
Making these mini trees is easily a family affair. Parents and older kids can build the mold and pour the wax. Younger kids can add decorations with acrylic paint, which is safe to burn.
Remember, never leave candles burning unattended or near unsupervised children.
Materials
FOR THE MOLD
- template
- cardboard
- craft knife
- 9-inch-tall prewaxed wire wick with clip
- 10- by 6-inch piece of foil
- 15-ounce can, cleaned and with top removed
- electrical tape
FOR THE CANDLE
- 1/4 cup paraffin wax, chopped
- pouring container
- one third of a 3/4-ounce cube of green wax dye (optional)
- acrylic paint
- cotton swab or paintbrush
Instructions
1. To make the mold:
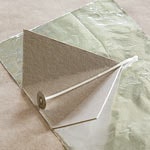
Trace the template onto the cardboard. Cut out the shape and score it where indicated with a craft knife (an adult's job). Bend the sides up.
2. Place the trimmed wick on the mold as shown, with the bottom of the wick about 1/4 inch from the bottom edge.
3. Wrap the mold tightly with foil to seal the seam.
4. If the can has any sharp edges, cover them with electrical tape. Place the mold tip down in the can; the mold should stand straight up.
5. To make the candle:
Set the wick in place, and trim it so that it extends 1/4 inch.
6. Melt the wax following these directions. For a green candle, chop the dye into small pieces, then stir it into the wax.
7. Pour the wax into the mold until it just covers the bottom of the wick. Allow the candle to cool for about an hour, then carefully unwrap the mold (it can be used several times).
8. To decorate, use a cotton swab dipped in paint to make dots, or a paintbrush to draw snowflakes. Let the paint dry before lighting the candle.
Crafts


