Total Time Needed: 1 Hour
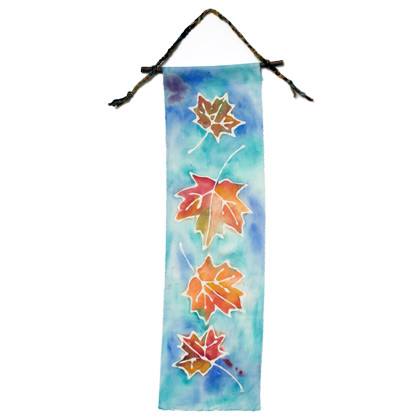
Welcome leaf-peeping season by creating a fabric banner. The glue-based resist technique gives the appearance of batik without the messy wax.
Materials
- Cotton muslin fabric or an old bedsheet, washed and dried
- Plastic wrap or waxed paper
- Washable glue (we used Elmer's School Glue Gel)
- Wide paintbrushes
- Acrylic paints
- Paper plate or Styrofoam tray
- Plastic tub, bowl, or sink
- Iron (optional)
- Stick
- Yarn
Instructions
1. Rip the fabric to the size you want (our piece is 9 by 32 inches). Tearing the fabric leaves a natural-looking edge that won't fray. Lay the fabric on a surface covered with plastic wrap or waxed paper. Draw your design on the fabric with glue. For our autumnal design, we traced the outlines of maple leaves, then added lines inside the shapes for veins. Let the glue dry undisturbed for about 24 hours.
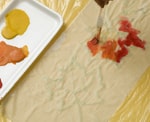
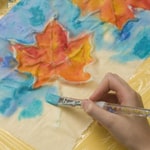
2. Use a wide brush and water to wet the entire piece of fabric. Add small puddles of acrylic paint to a plate or tray and mix each one with a bit of water to thin it. Beginning with the leaves, brush the diluted paints onto the fabric, allowing the colors to flow together as in a watercolor painting.
3. Paint the background using the same technique. Let the fabric dry, about 2 hours.
4. Soak the fabric for 20 to 30 minutes in a tub, bowl, or sink filled with warm water. Gently rub away the glue, then rinse the fabric thoroughly and allow it to dry. Iron it flat, if desired.
5. Lay the fabric facedown and place the stick across the top edge. Fold the fabric over the stick and glue down the edge to form a sleeve. Tie braided yarn to the ends of the stick for hanging.
Crafts


